How to – Set up an Aurora Workstation #
To set up an additional Aurora workstation, or a workstation to replace an existing one:
1.Create Aurora Information technology folder and install an Aurora Workstation File (auWKsAurora.ini) #
- Create folder in C:\Program Files(x86)\Aurora Information Technology
- Ensure this folder has a least “modify” security permissions for users accessing Aurora Desktop. Please also consider this permission for the Locations specified in the auWksAurora.ini for the work folders
- Place an Aurora Workstation File (auWksAurora.ini) in the C:\Program Files(x86)\Aurora Information Technology
This file is specifically set up for each site and supplied by AIT initially (this ini file may be reused across multiple PC’s), the easiest way to do this is to copy it from an existing Aurora workstation.
(The Aurora Workstation File, and other configuration files provide the location and connection information for the database, indexes and other resources used by Aurora.) It is recommended that these set of configuration files are maintained and included across all new installations
2. Add the Workstation in System Parameters #
While logged on an Existing Workstation as an operator with System Parameters access
- Navigate to Management Tab- System Parameters – Workstations Tab and Add the Workstation PC name to the table using the Workstations screen.

Add a New Workstation #
An example process
- Click the
 button on the right hand side of the screen
 - Input the workstation name (PC name)
- Description (either the pc name or a more identifiable description of the pc e.g. front desk PC)
- Select the physical location of the pc
- Leave the port
- Select currency from drop down
- Select type from drop down e.g staff for staff workstations or kiosk for self serve checkouts
- Select primary operator for this workstation
- Select pull down e.g automatic of front desk pcs that are likely to be used in offline mode
- Tick has docket printer if the workstation is connected to receipt printer
- Click Save
 button
 - The workstation will be added to the workstation list on the left hand side of the screen (Note the number of licenced workstations is set by the Aurora Licences contact AIT if you are a cloud customer and require additional licences)
Add new Workstation number as replacement for existing #
- If the workstation is a replacement for an existing workstation, make sure you remove the old computer name details from Workstations first, or edit the previous workstation. Note
 Use this button simply to replace the workstation name, e.g. when replacing the workstation and all other settings remain the same
 - For full details of the Workstation registration process see Workstation maintenance.
3. Confirm License Considerations (On-Prem Only) #
- If the workstation is an additional system, you may need an additional Aurora license. The license is in the file.
\Programs\licences\AuroraLicences_InstId.txt
(where InstId is your site’s assigned Aurora institution identifier) in the Aurora programs directory (which is typically located on the server file system). You can see number of licensed users in this file. If you add more workstations than you have licenses for, then all workstations will breach the licensed terms and will no longer be valid. If you are adding a workstation beyond existing licenses, please contact AIT.
Important: #
This is a simplified description of the setup process – full details with screen images etc, can be found in the Aurora Configuration pages
This document assumes that the Aurora Workstation File ( auWksAurora.ini) points to a central Aurora Client directory structure including a set of shared program files. If a different structure is used, please consult the Aurora Configuration pages
Notes #
- Please note that existing installations will have the Aurora Workstation file in the \Windows root directory. Following the move towards Vista/Windows 7, which do not allow easy access to the Windows directories, all Aurora applications support the placement of this file in this new location under \Program_Files\Aurora Information Technology\. All Series IV applications will also be housed in this directory.
- Please ensure that each workstation is set for international date settings. To do this you will need to go to Control Panel / Clock, Language and Region, and set the date formats so:
Note that if the date formats are not set, then the workstation may inherit US date settings, and this can cause issues in operation and display, where 1-05-2014 is understood internationally as May 1st, but in US as 5th January. Setting the due date in the wrong style will be awkward!
[3] If setting up a 64-bit workstation, it is necessary to replicate the auWksAurora.ini file in both [Program Files]/Aurora Information Technology and also [Program Files (x86)]/Aurora Information Technology
4b. Run Install of Desktop (MSI) #
- Download The Aurora Desktopsetup.msi file via the Publication URL (Please contact AIT for the Link)

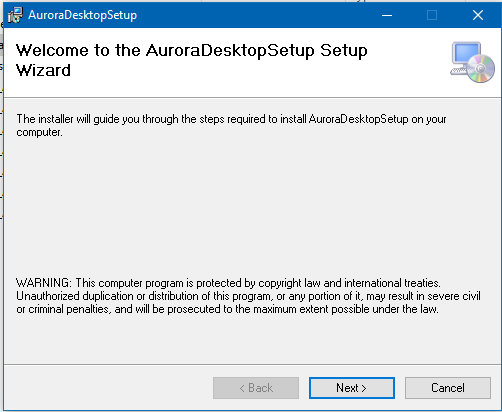
- Click Next
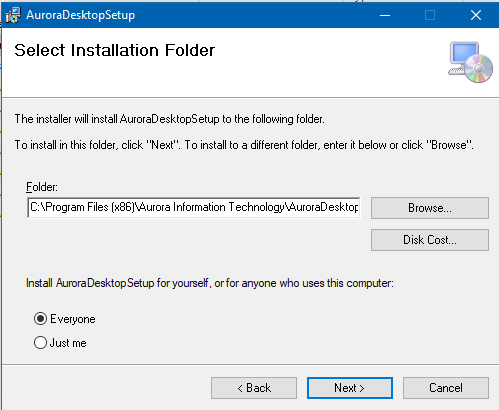
- Browse and Set installation Location C:\Program Files(x86)\Aurora Information Technology
- Determine if the installation will be for everyone or just the current user.
- click next
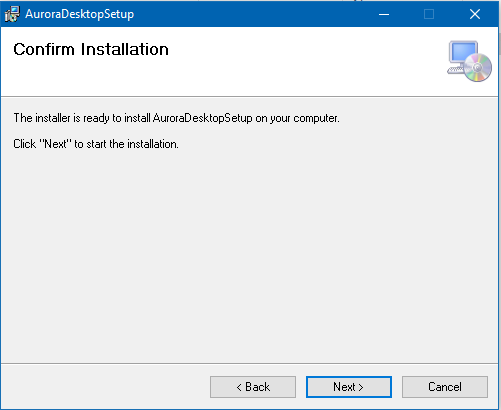
- Click Next
- Accept installation
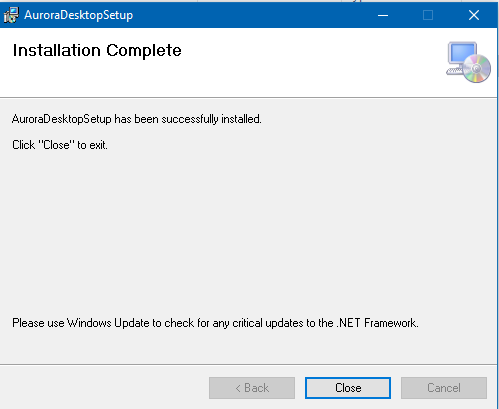
- Click Close
- After the installation is completed a new folder will be created in C:\Program Files(x86)\Aurora Information Technology\AuroraDesktopSetup and a short cut for Aurora Desktop will be placed on the desktop
 A Shortcut for the product will be placed on the desktop
- Open desktop and login as normal
4a. Run Install of Desktop (Click Once version) #
- Via the Publication URL select the AuroraDesktop.application Link (Please contact AIT for the Link)
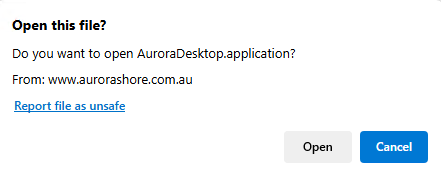
- Click Open on the open this file Link
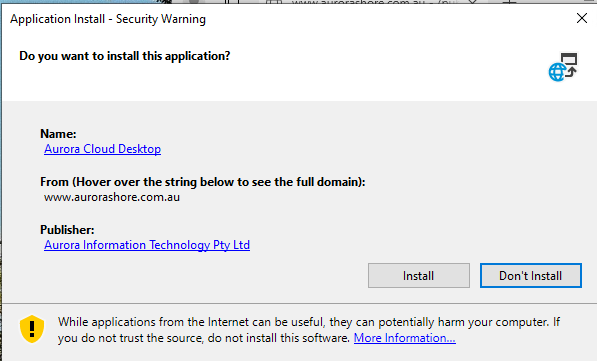
- Click Install on the Application Installation popup
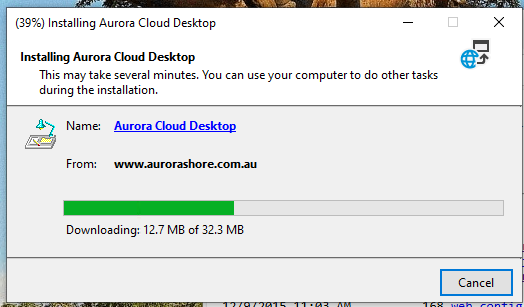
- A Loading Screen will display
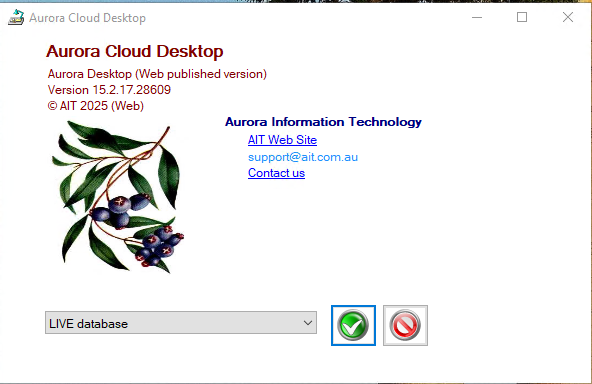
- The Desktop Login screen will appear and the user can now login
- Additionally a short cut for Aurora Cloud Desktop will appear on the desktop.

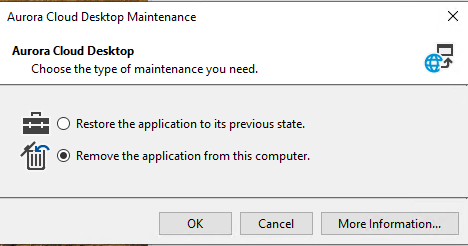
Uninstalling Desktop #
- Navigate to add or remove programs in system settings
- Select Uninstall
- Within the Aurora Desktop Maintenace Popup – select the type of uninstall – Remove the application from the computer
- Click OK