Return #


To return any item an operator can enter a barcode number by scanning, pasting or typing; then clicking the arrow or enter on the keyboard. Successful returns will display in the transactions table at the bottom of the page.
Returned at – Dropdown box #
The returned at dropdown allows the operator to select a location for processing the returned item.

Options Checkboxes #
The options button is defaulted to be condensed, to make the screen clearer. When selected the control checkboxes are displayed on the screen for the returns process.

Batch returns #
This option allows for bulk return of a prepared file of barcodes. When this checkbox is selected, an additional option opens below the checkboxes, allowing for input of the prepared file. Click ‘Select file’ to locate the file. Note that selection of this checkbox automatically enables ‘Suppress non-reservation messages’.

Set return date #
This checkbox allows the operator to set a specific return date (i.e. not today). Libraries may choose to use this to give additional flexibility to a book-drop, or where an outreach assistant has returned a number of items which have not been officially checked in, and therefore the date needs to be back dated.

Show overdue charge #
This feature is under development.
Suppress Reservation Trap #
This option prevents a reservation being trapped by the return, and may be used for instance internally, where items are loaned to internal user ids for the period of processing (e.g. cataloguing, covering, etc). The reservation will not be trapped until all internal processes are complete.
Suppress In-Transit slip #
If required, the printing of in transit slips can be suppressed. This may be used where a quantity of material is to be processed, and the slip printing is effectively redundant. Note that if no docket printer is associated with the workstation, the checkbox will be ticked, and not enabled.
In-house usage #
Allows for the recording of material use in-house (i.e. not as a result of a loan or other activity). If the item being returned is on loan, or the item does not belong to this branch, then the In-house statistic is cleared and not recorded.
Auto clear in-progress status #
This checkbox is provided for the handling of new material. Each item is (optionally) given an In-Progress status while still being dealt with in Technical Services. This status can be cleared by a return transaction; however, it is likely that there will be multiple items to be treated in this same way. Therefore, to simplify the workflow, and bypass the need to acknowledge the removal of the status on each return, this option allows the status to be automatically removed for each item encountered.
Suppress statistics #
If performing returns that are not in fact clearing loans (e.g. returning in progress items to clear their status; returning items received in transit to clear the in-transit flag; or other similar return actions) the library may not want to log the transaction as a return, which will be counted in statistics. This checkbox allows such returns to bypass statistical recording. Normally, the return transaction will be recorded.
Suppress item message #
If an item has a message associated with it, checking this box will prevent the message popup.
Suppress premature return message #
An Enterprise setting ‘PrematureReturns’ can be set to alert a library that material is being returned very rapidly after the loan transaction. The parameter defines the number of days for a minimum loan, and any return generating a calculated loan for a number of days less than this is reported. If the Enterprise parameter is set, then this setting allows an override to bypass the reporting.
Suppress non-reservation messages #
This option is only enabled when the Batch Returns checkbox is selected. It permits standard messages, such as return to Home library, to be suppressed.
Transaction Results Table #
On completion of a return, the details are displayed at the bottom of the screen. This panel maintains a scrolling record of returns performed at the workstation.
Transactions – right click menu #
The transaction record has a comprehensive pop-up menu, providing links to other displays:
- View ‘Item Details’ – opens ‘Item Details’ page.
- View ‘Item History’ – opens ‘History’ page.
- Reserve this item – opens ‘Place Reserve’ popup.
- View ‘User details (for trapped reserve)’ – opens the reserving user’s ‘User Details’ page.
- View ‘User Details (for returned loan)’ – opens the returning user’s ‘User Details’ page.
- View ‘User History (for returned loan)’ – opens ‘History’ page for the returning user.
- Add a message for this user – under development.
- Send an SMS message to this user – under development.
Return exception messages #
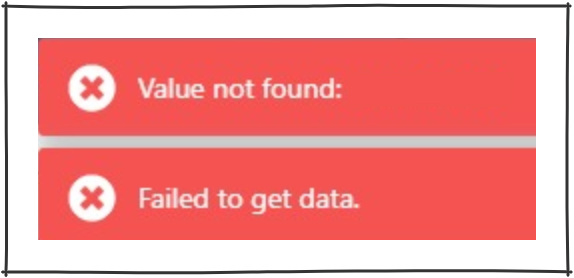
Item number not on file #
If an unrecognised barcode is inputted a simple flash warning message will popup in the top right corner of the screen ‘Valued not found’.
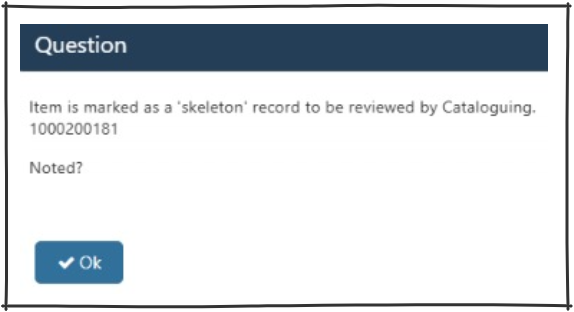
Skeleton record for review #
When a record has a ‘skeleton’ flag set, it will be notified to the operator to be passed for review.
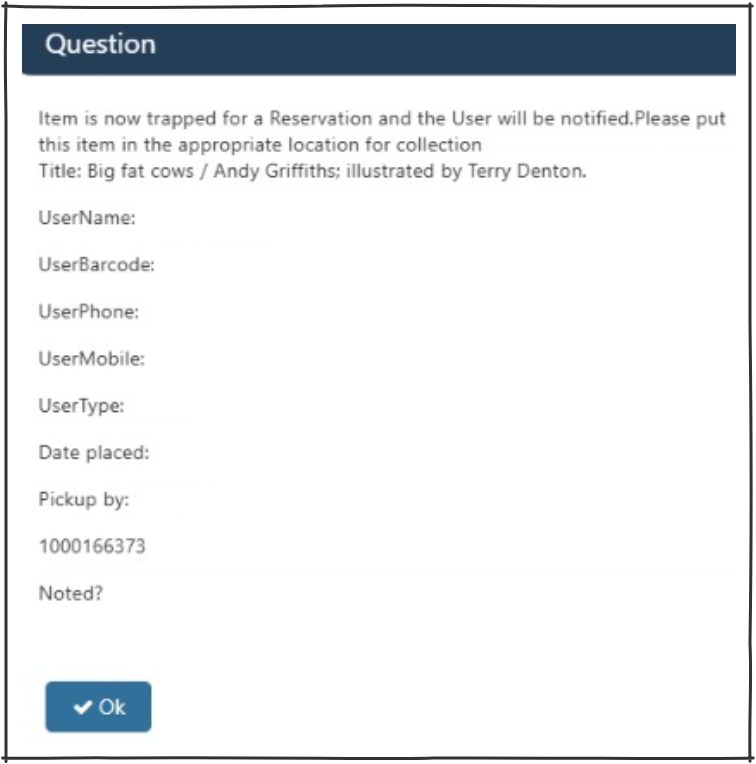
Reserved item returned – collect this location #
This message is presented when a reserved item is trapped on return (the item is reserved to be collected at this location). The message details the user, giving, their name, barcode, landline and mobile number. If your library notifies users of reservations to be collected by SMS, then the notification is sent immediately; if the user is notified by email or post, then this notification will take place later. If there is a comment placed on the reservation, then this is shown in the message. If you have a docket printer attached to the workstation, then a reservation slip may be generated as part of the trap.
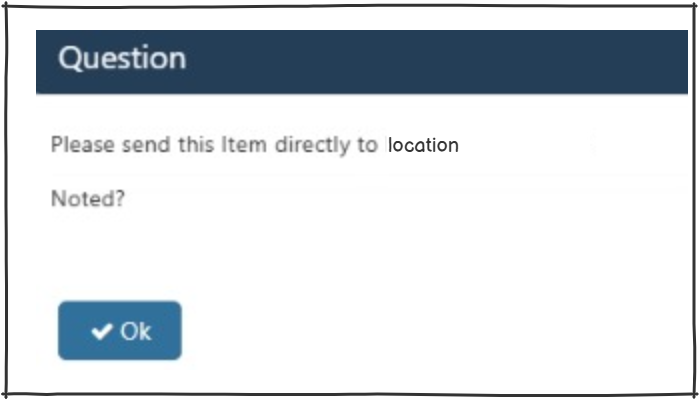
Reserved item returned – collect at another location #
If the reserved item is to be collected at another location then a different message will appear. This message will display the location to send the item. In this case, the user details are not shown, and the user is not going to be notified. This message tells you that the item is reserved but tells you to send it to the collection location. When it is returned there, a message like the trapped-on return message above will be shown.
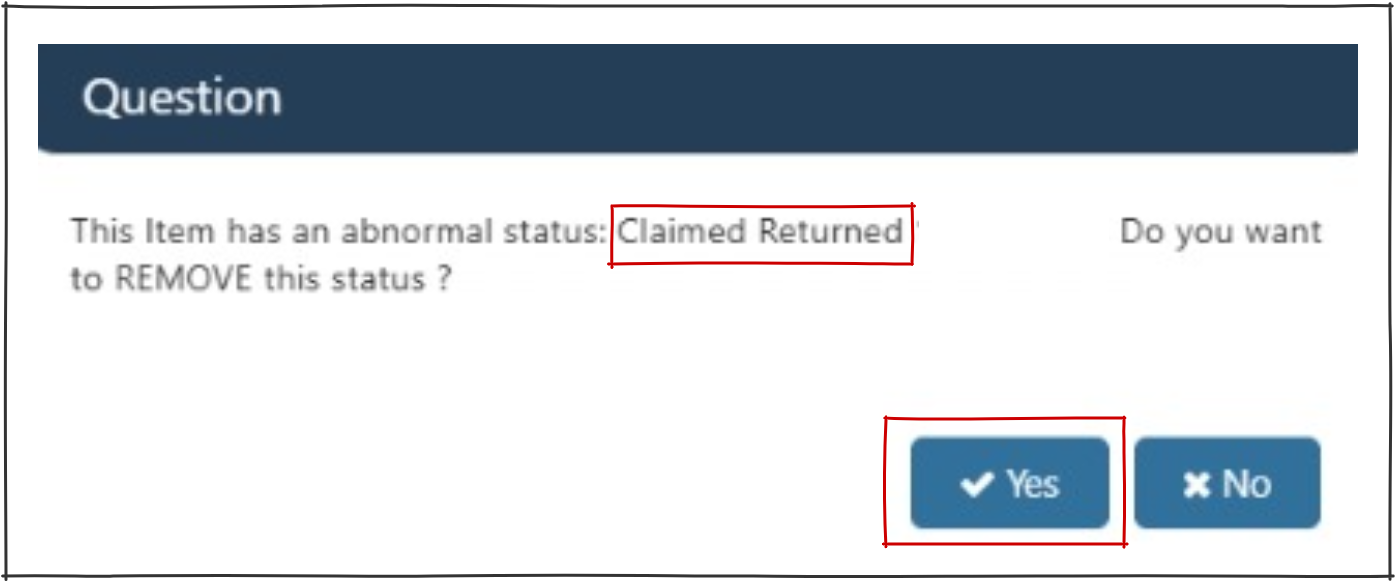
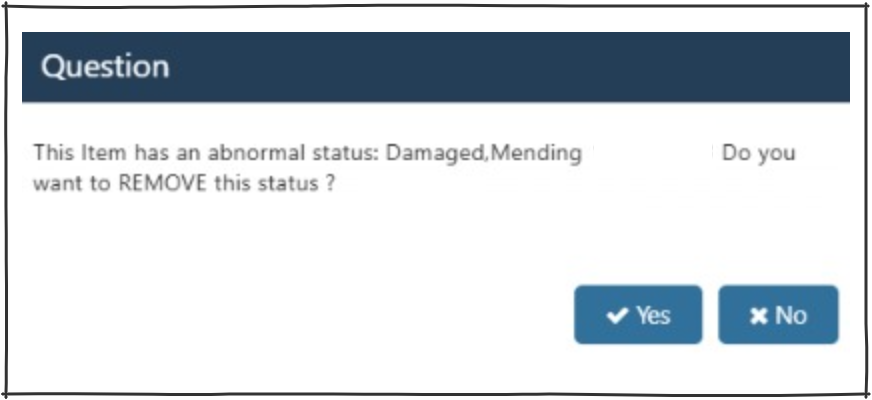
Abnormal item status #
An ‘abnormal status’ message is presented when an item is returned which has a status other than ‘normal’ (e.g. missing, lost, claimed returned, etc). If the operator selects ‘yes’ on this pop up the abnormal status is removed (status changes to ‘normal) and there are no outstanding restrictions on the item. Selecting ‘no’ will retain any abnormal status.
Item from another location #
This message is presented when an item is returned which is recorded as having another location as its home. The item is therefore put into transit, it can only be taken out of transit by a return transaction at its destination. The message details the location to which the item needs to be sent. The operator must physically deal with the item as required.
Claimed Returned #
If a borrower claims to have returned an item, the the library can record this without removing the connection between the item and the borrower. The status is recorded in ‘Item Details’ by applying selecting ‘Claimed Returned’, this must be saved to stick.
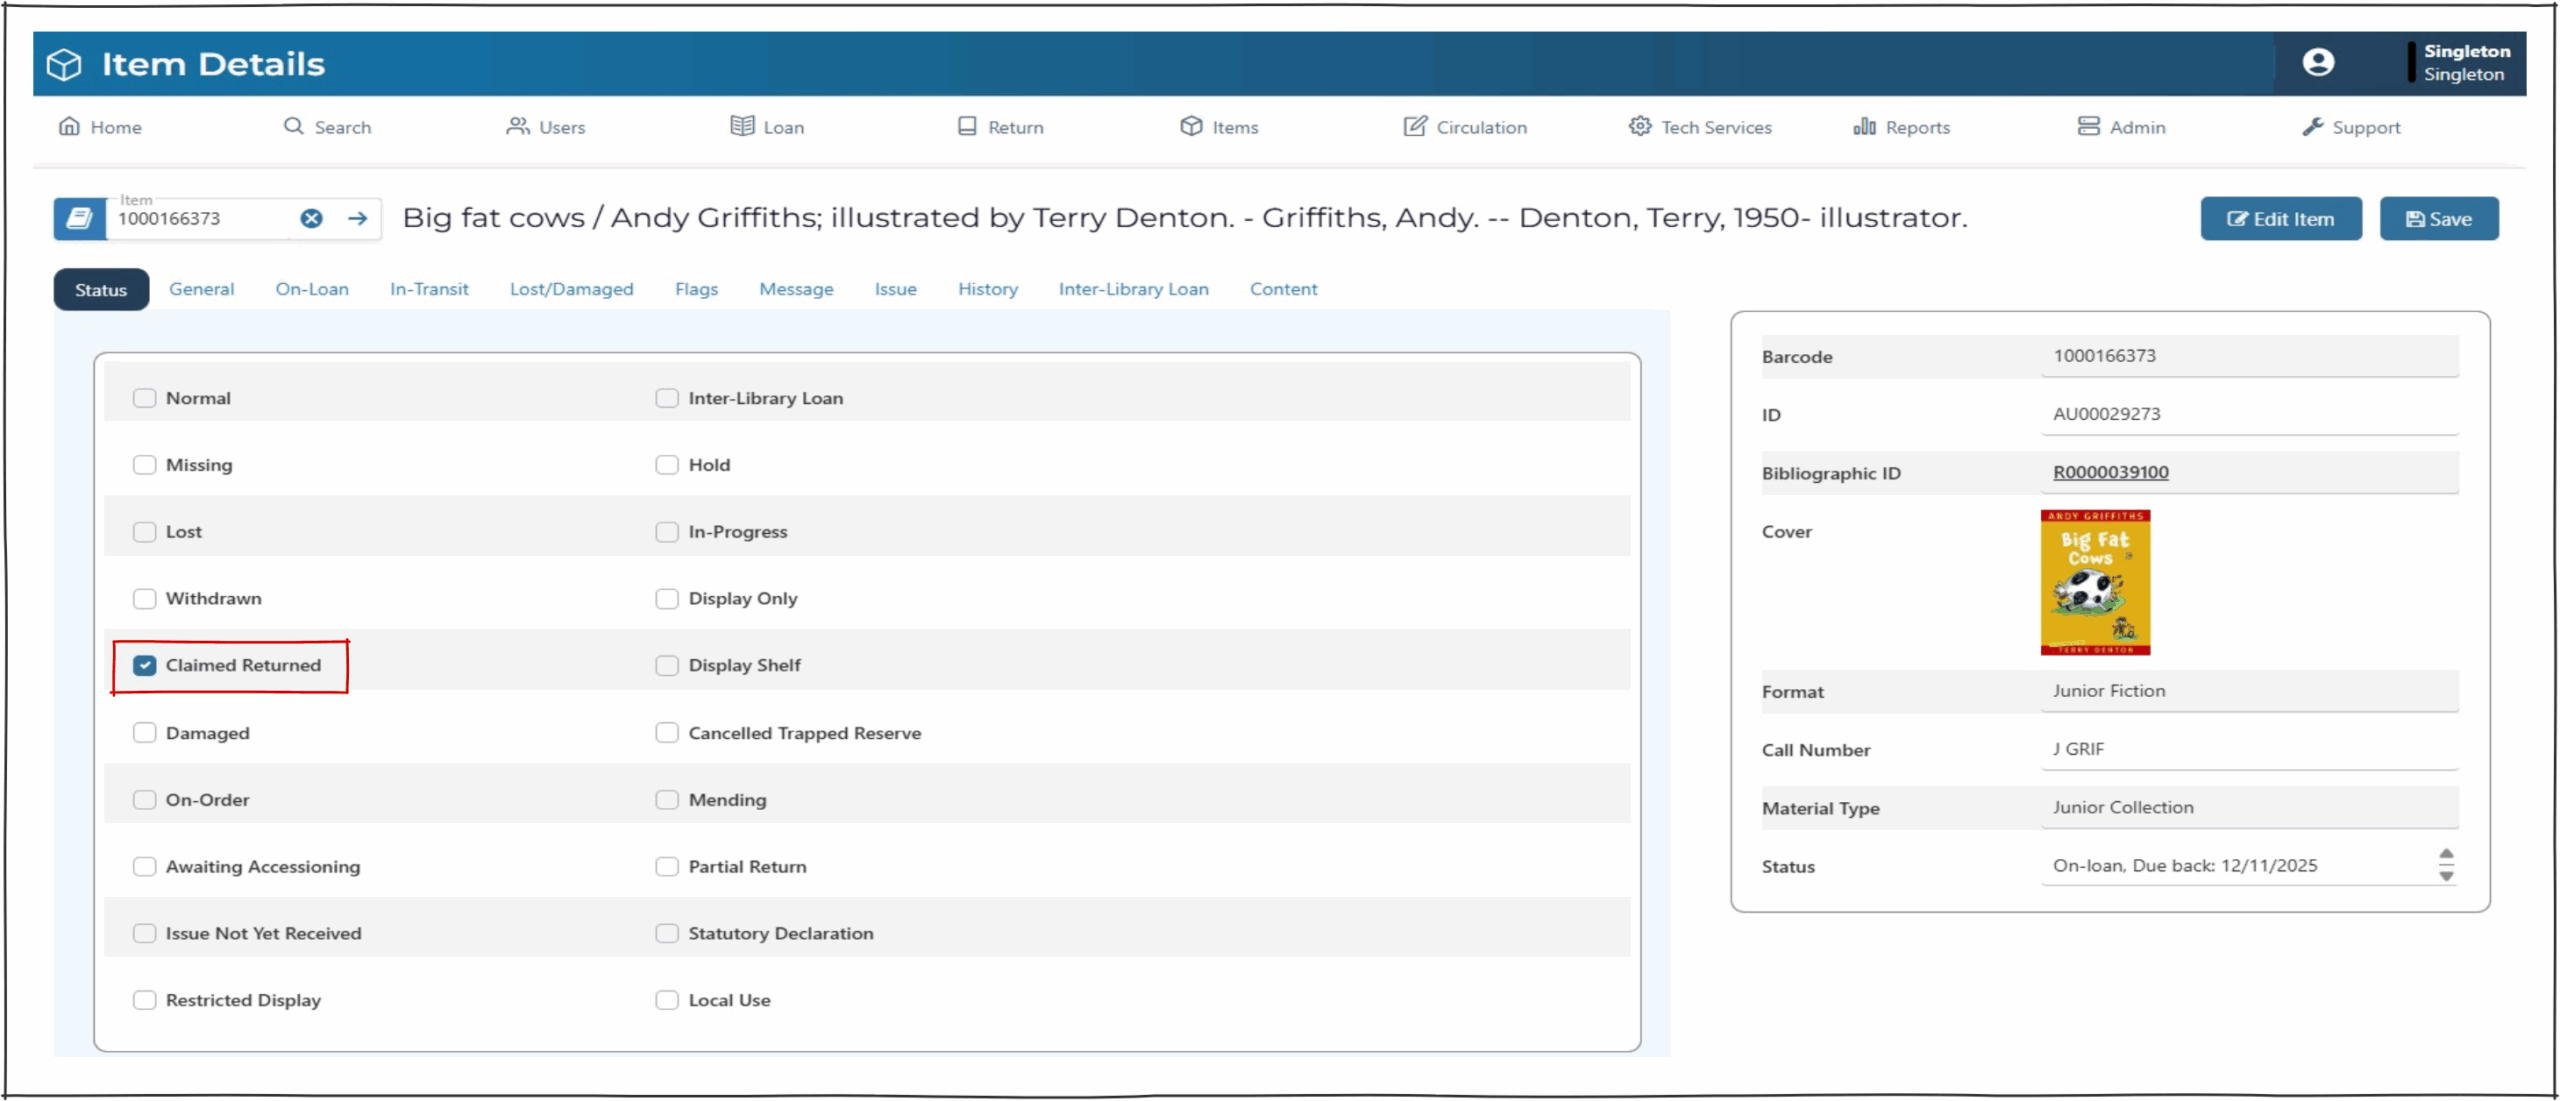
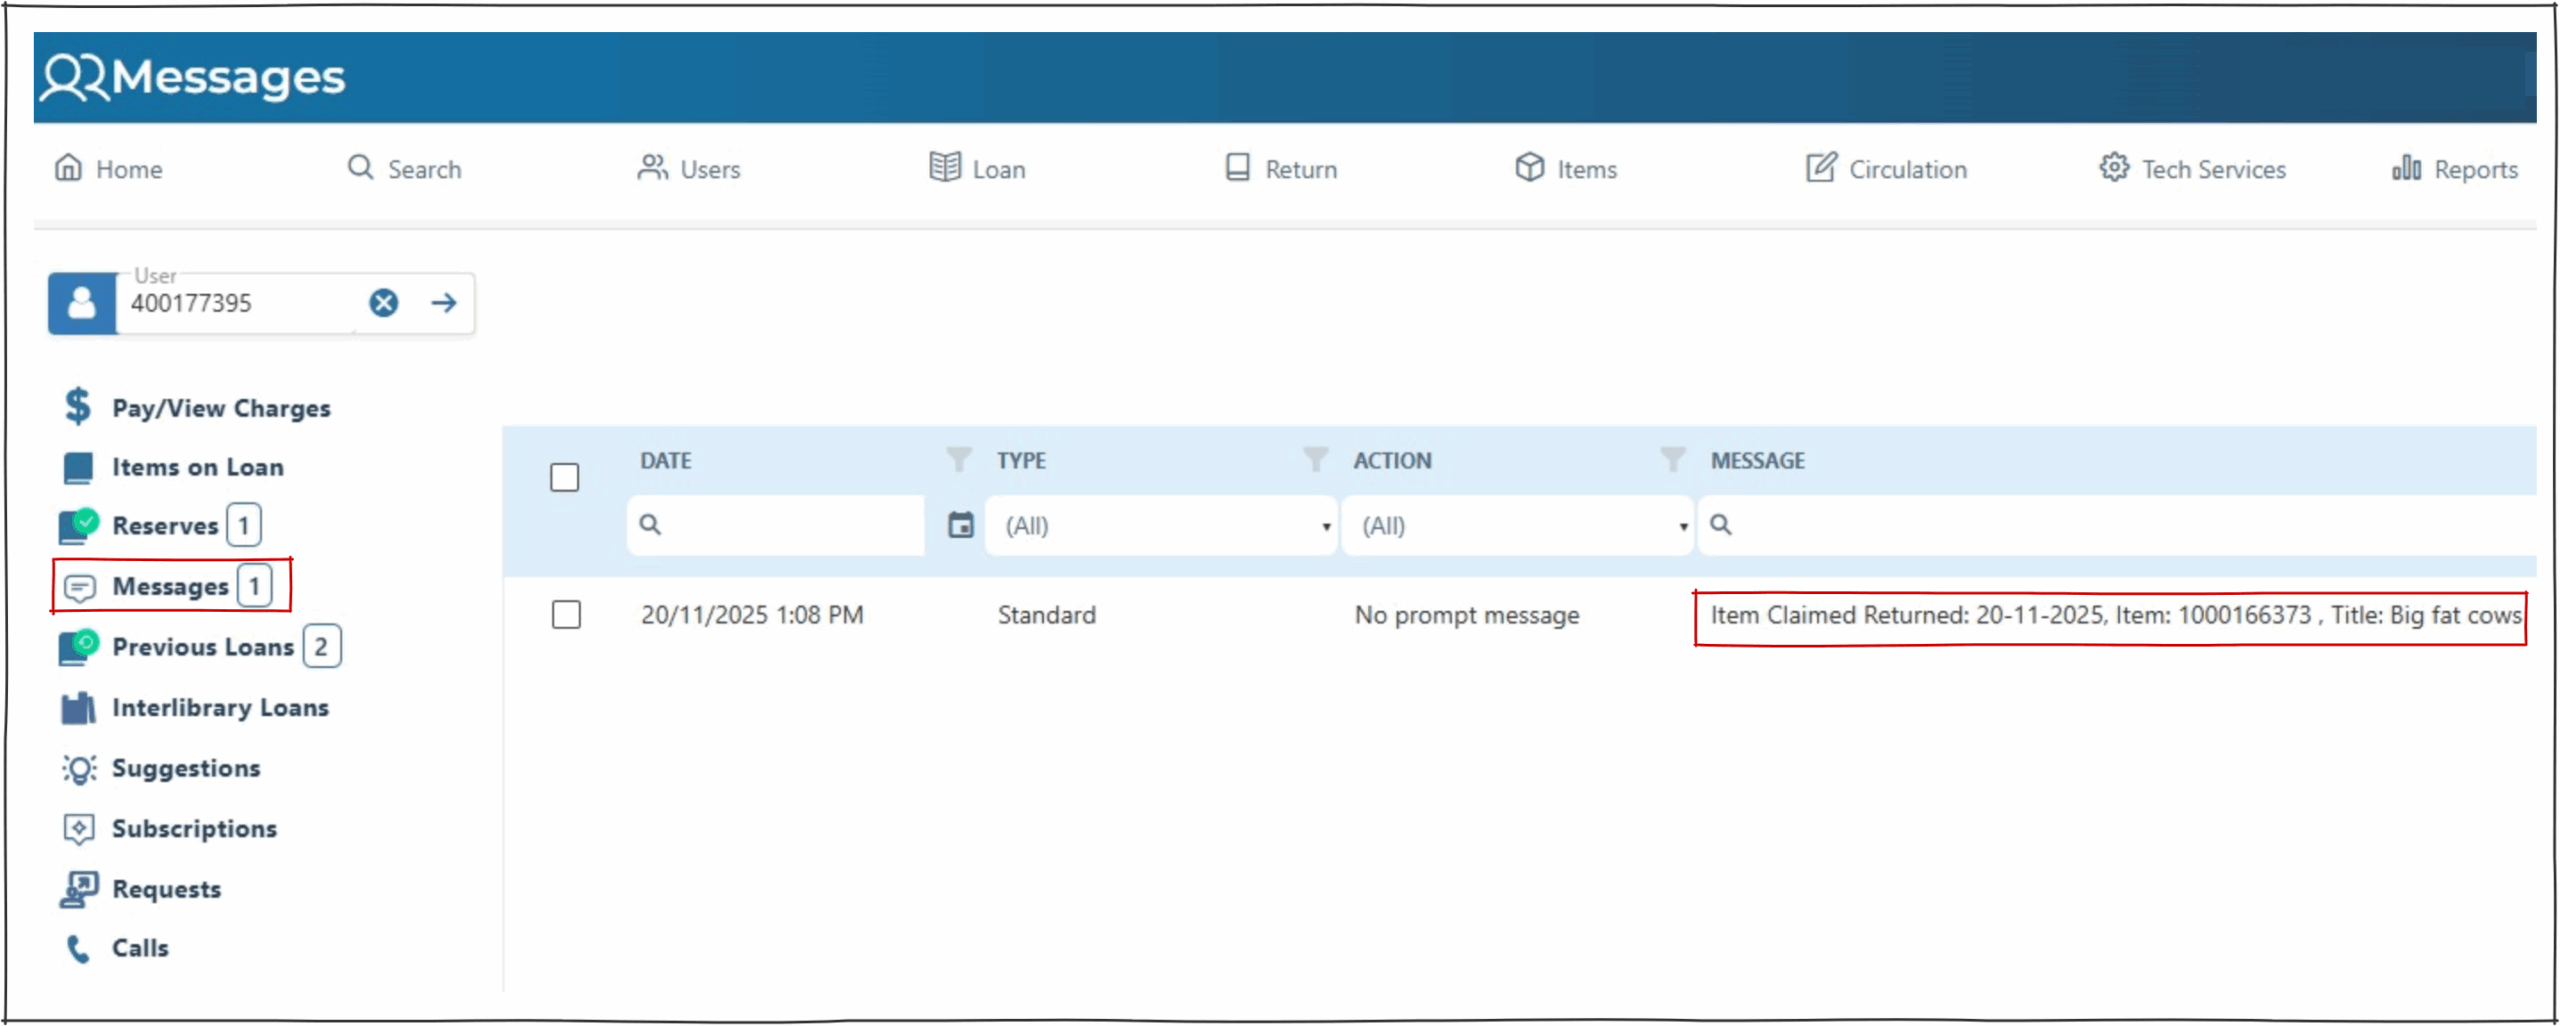
The loan with ‘Return Claimed’ status remains with the user and is visible on ‘User’s Messages’. loan summary so that claimed return is listed as a status against the item in the user loans screen. Claimed Returned do not count as part of the user’s loan limits. If the item is located and returned the status can be removed from the returns screen.
Claimed Returned – Reservation trapping #
If an item with a status of ‘Claimed Returned’ is reserved and subsequently located and returned, the operator will have to select ‘yes’ to remove this status. This will trigger the popup for reserved items.